How to set up your workspace from your website
Type your website and Munshi reads your site and blog. It fills in your business and brand, shows what it found, and plans three months of articles.
Before you start
- You are signed in. A new account opens setup straight after the first sign-in code.
- Your website's address. Munshi reads your homepage and your blog. With no website, you can start from scratch instead.
-
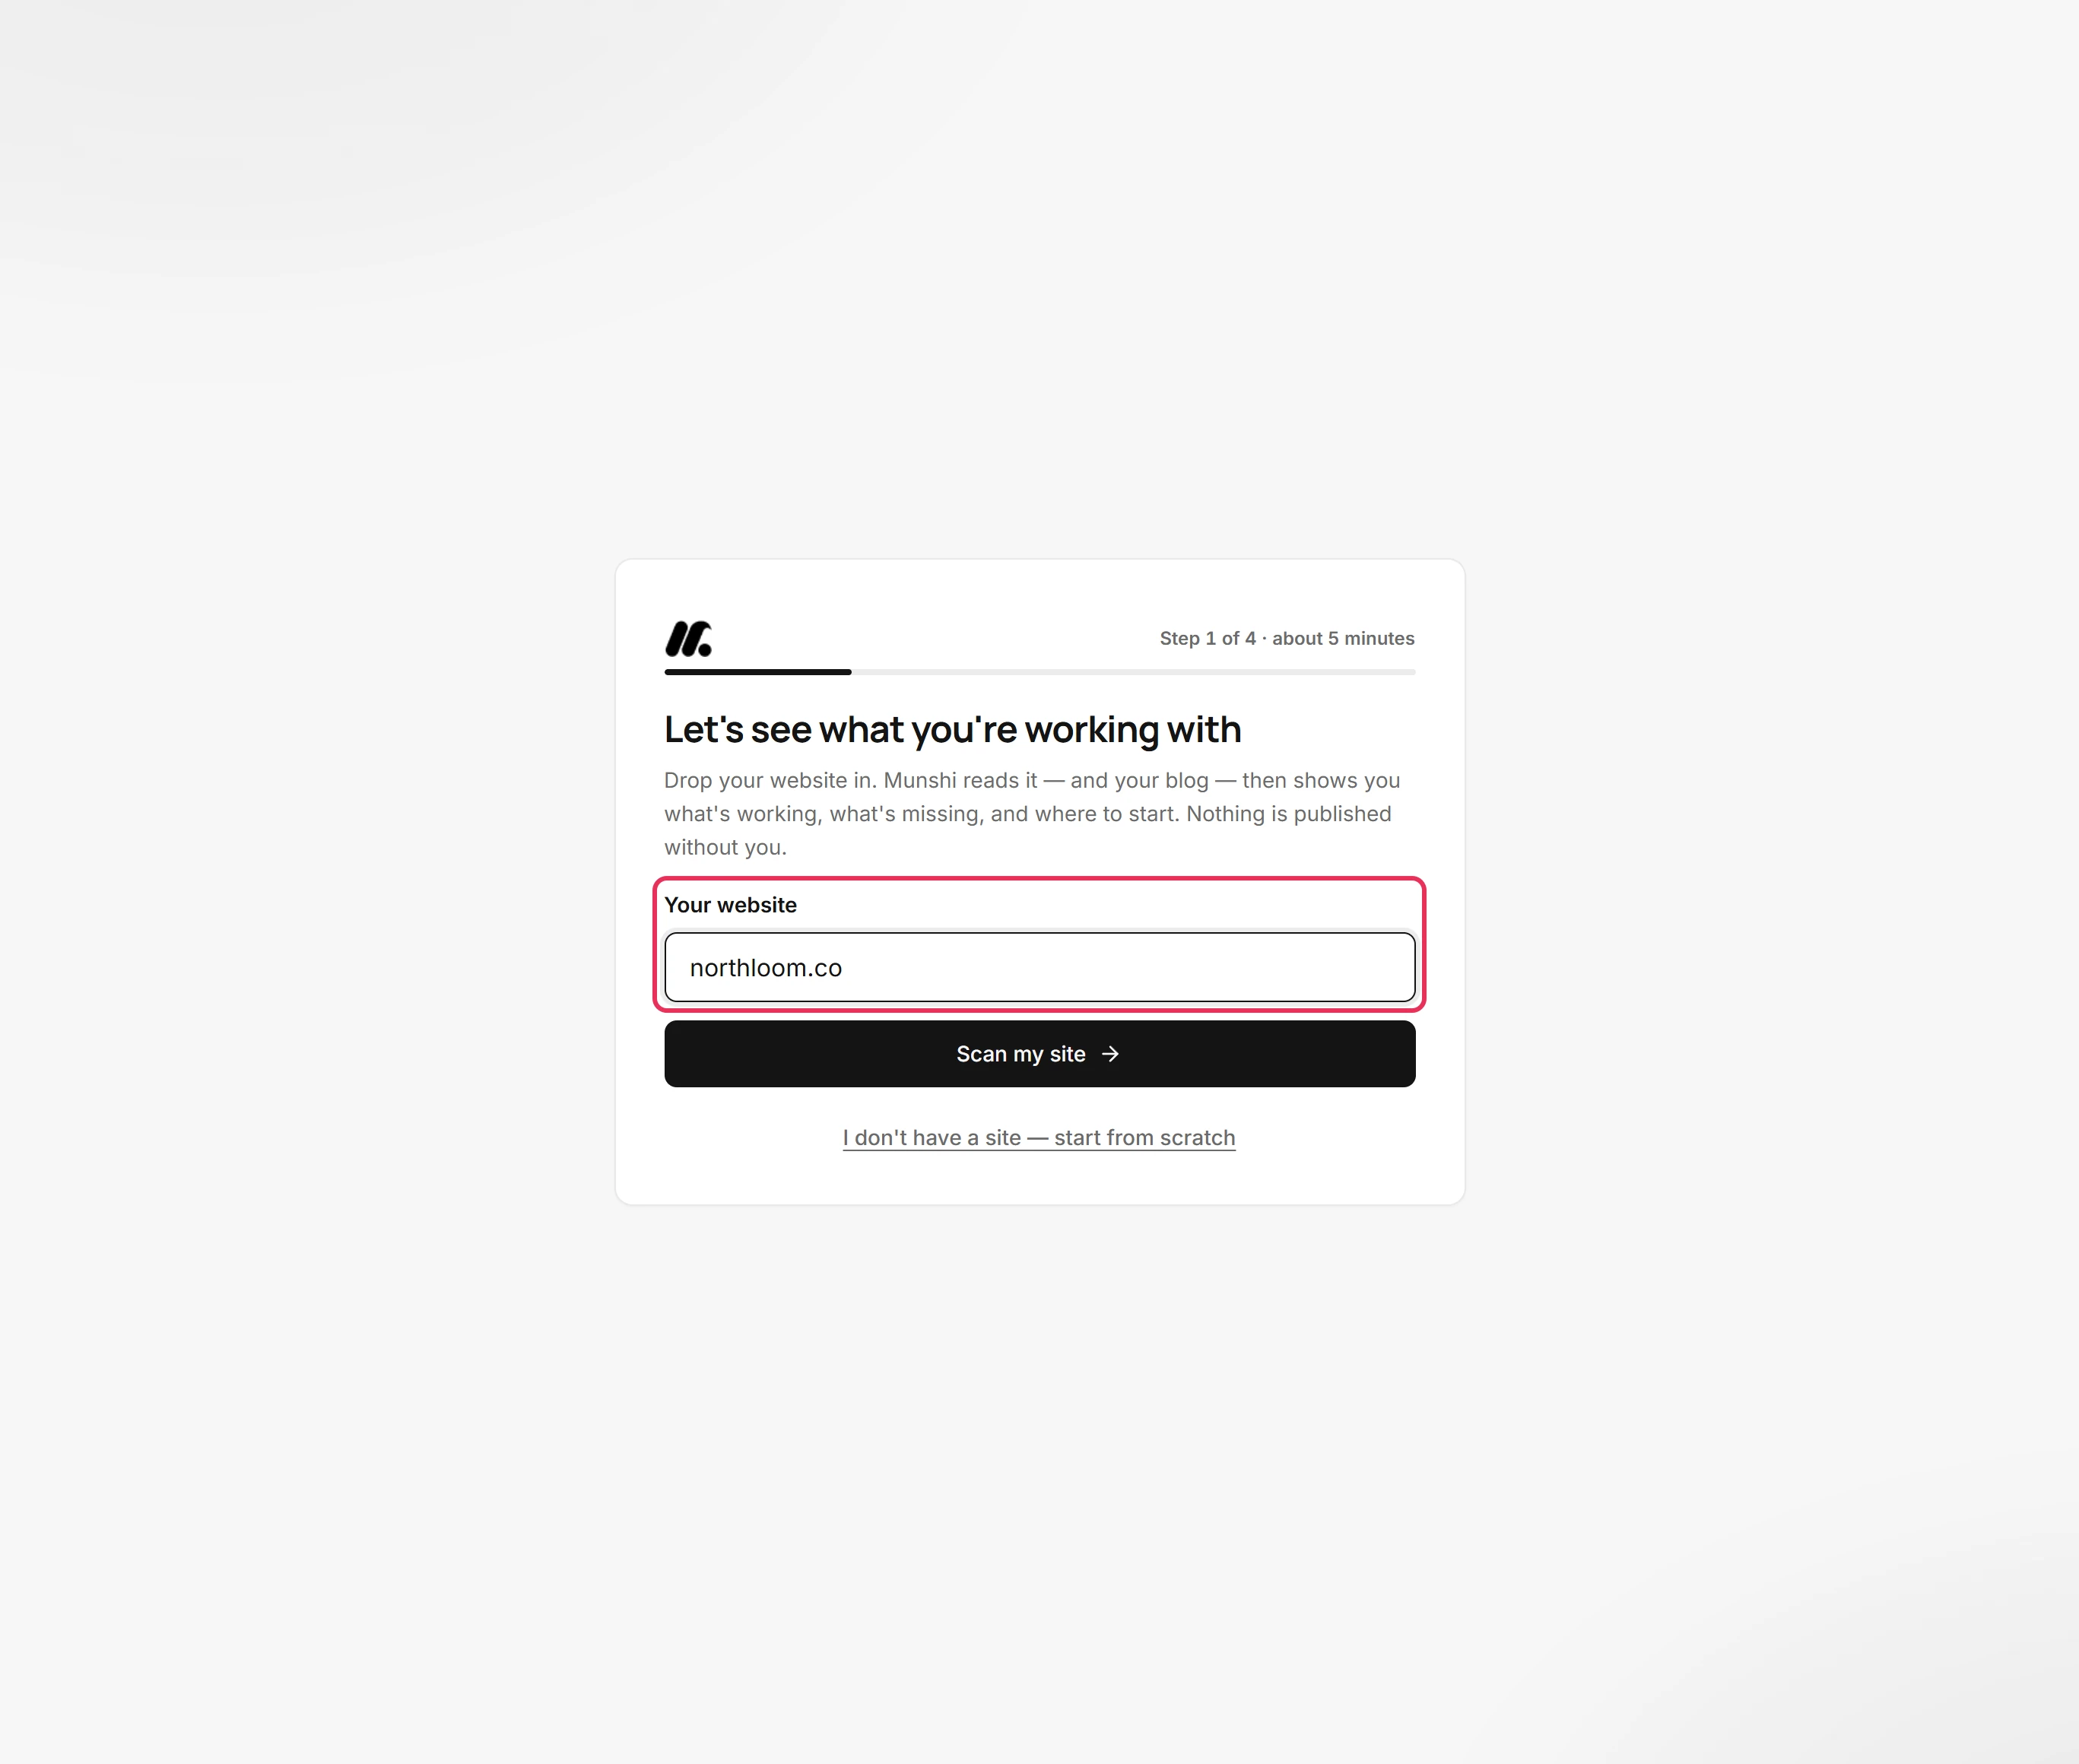
Setup opens on Let's see what you're working with. Type your site's address into Your website. The domain on its own is enough.
-
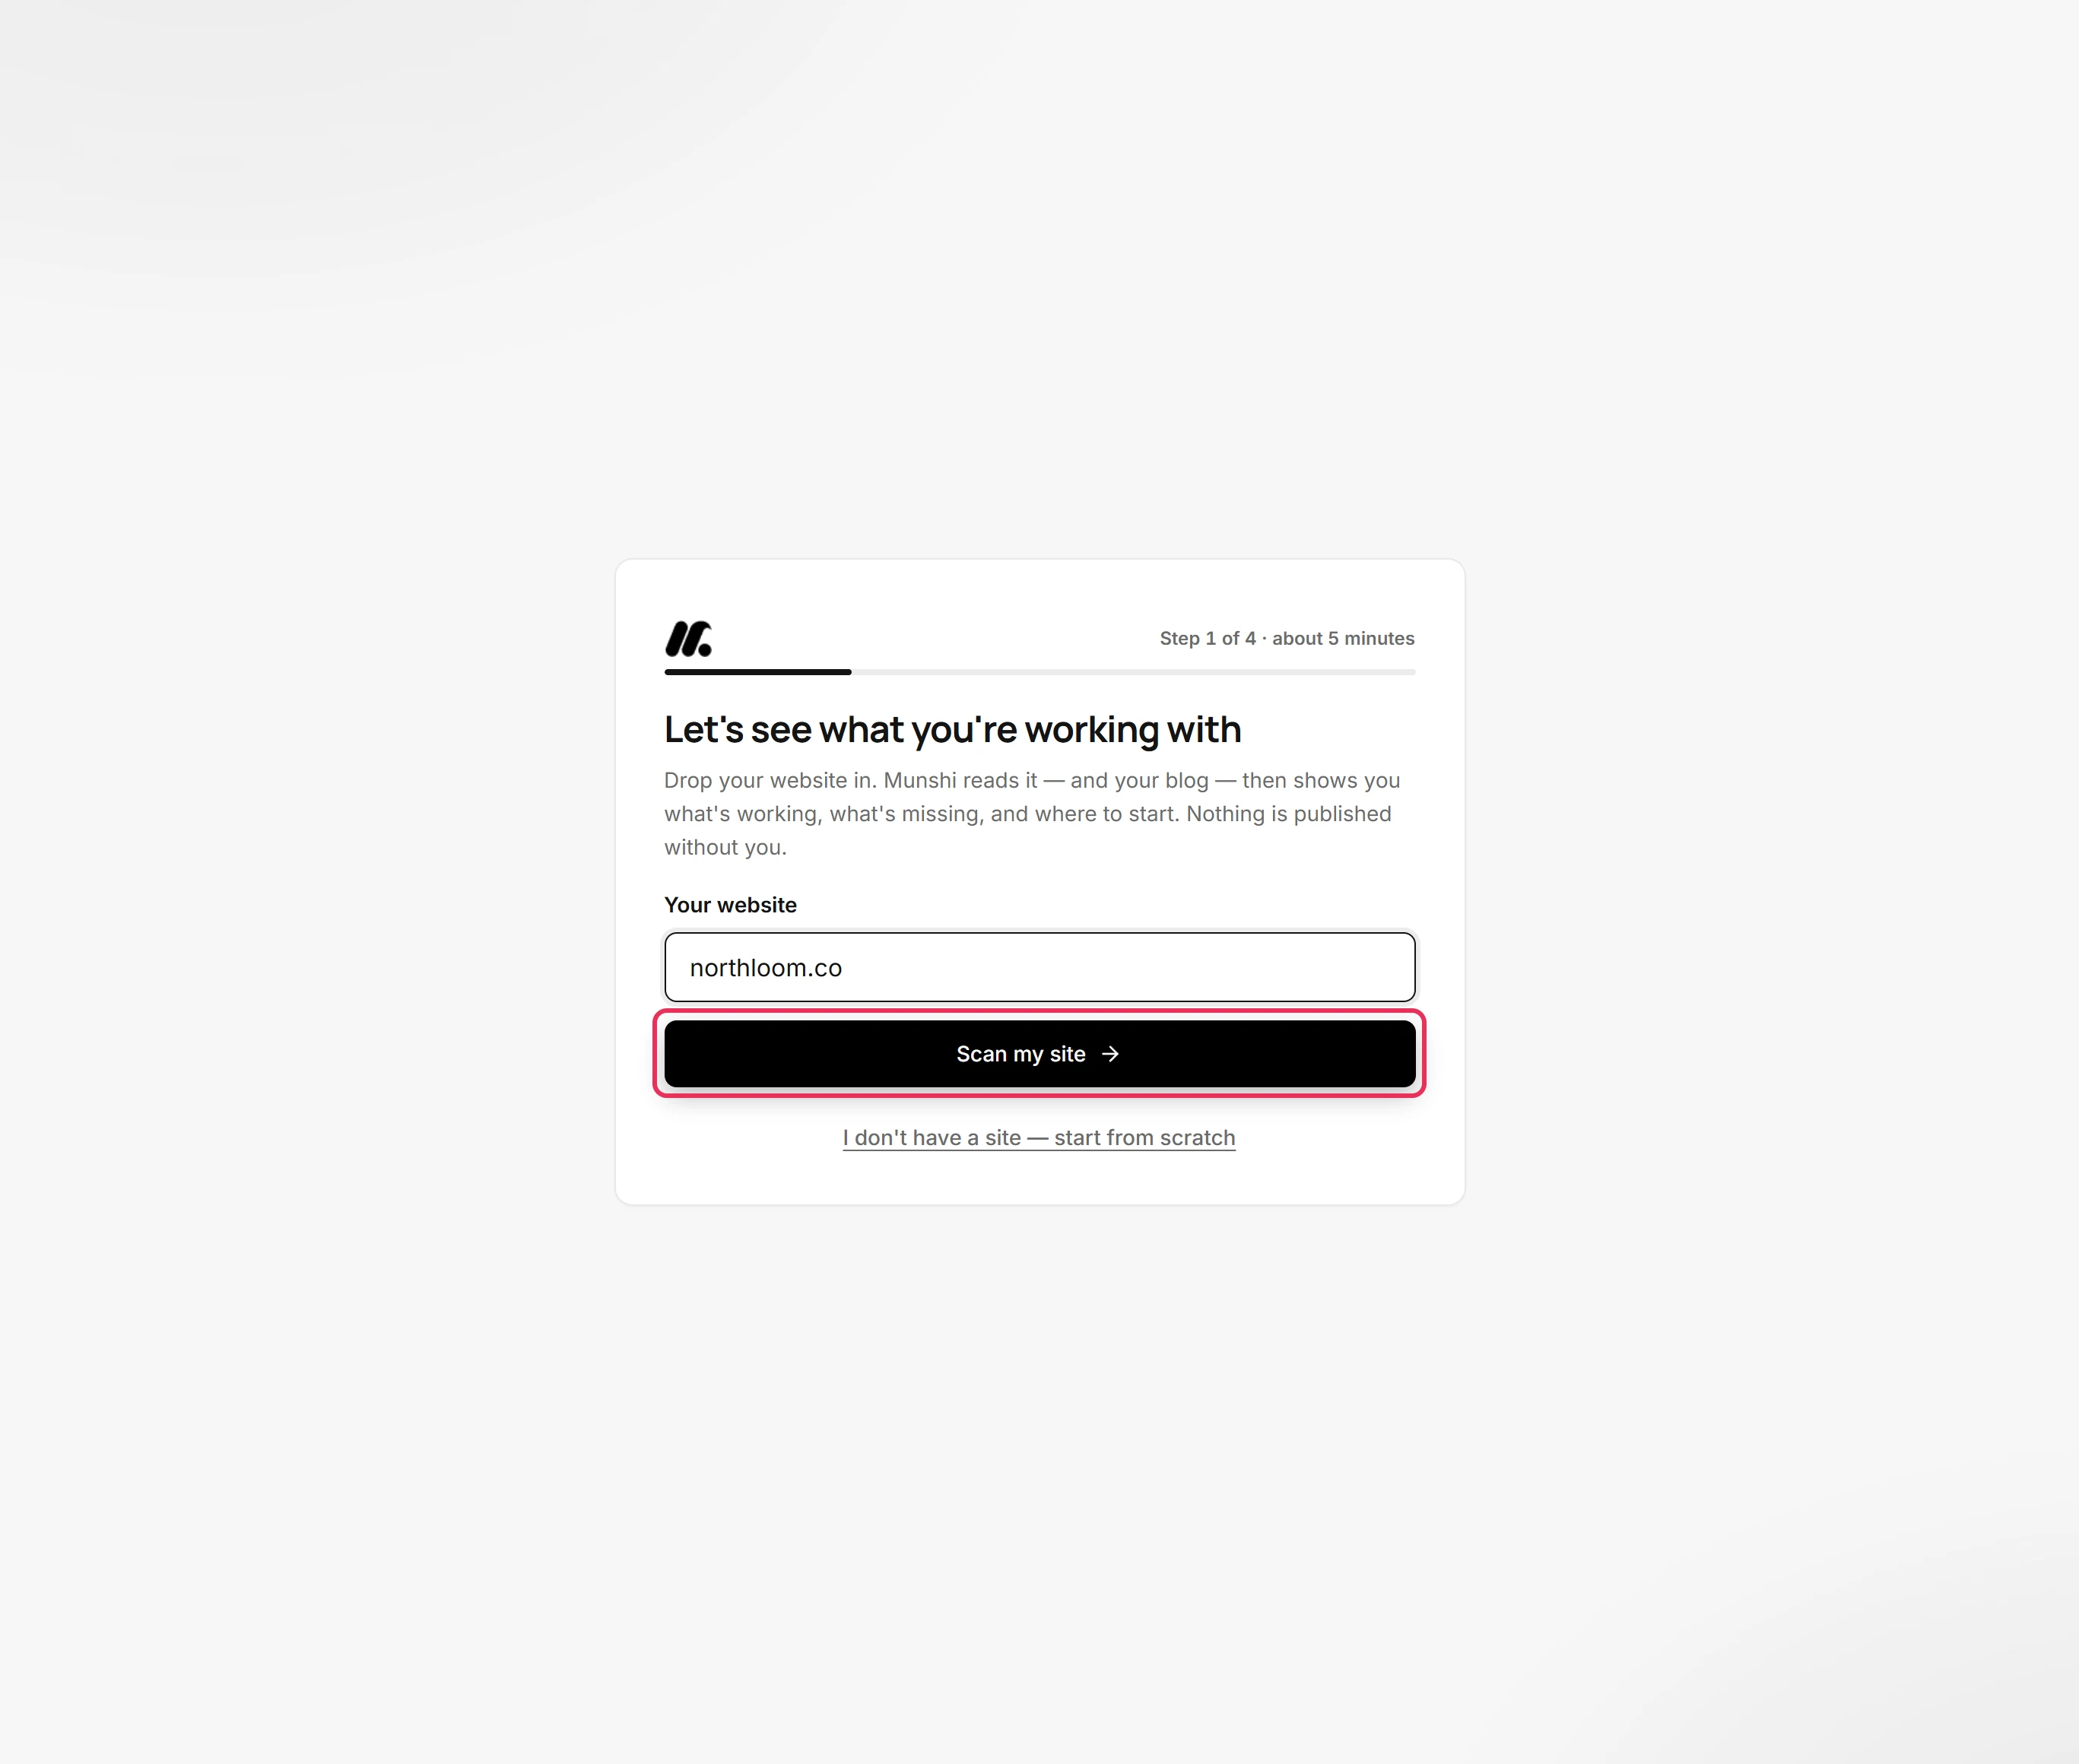
Click Scan my site. Munshi reads your homepage for your name, what you sell and your brand. At the same time, it starts reading your blog. This takes a few seconds.
-
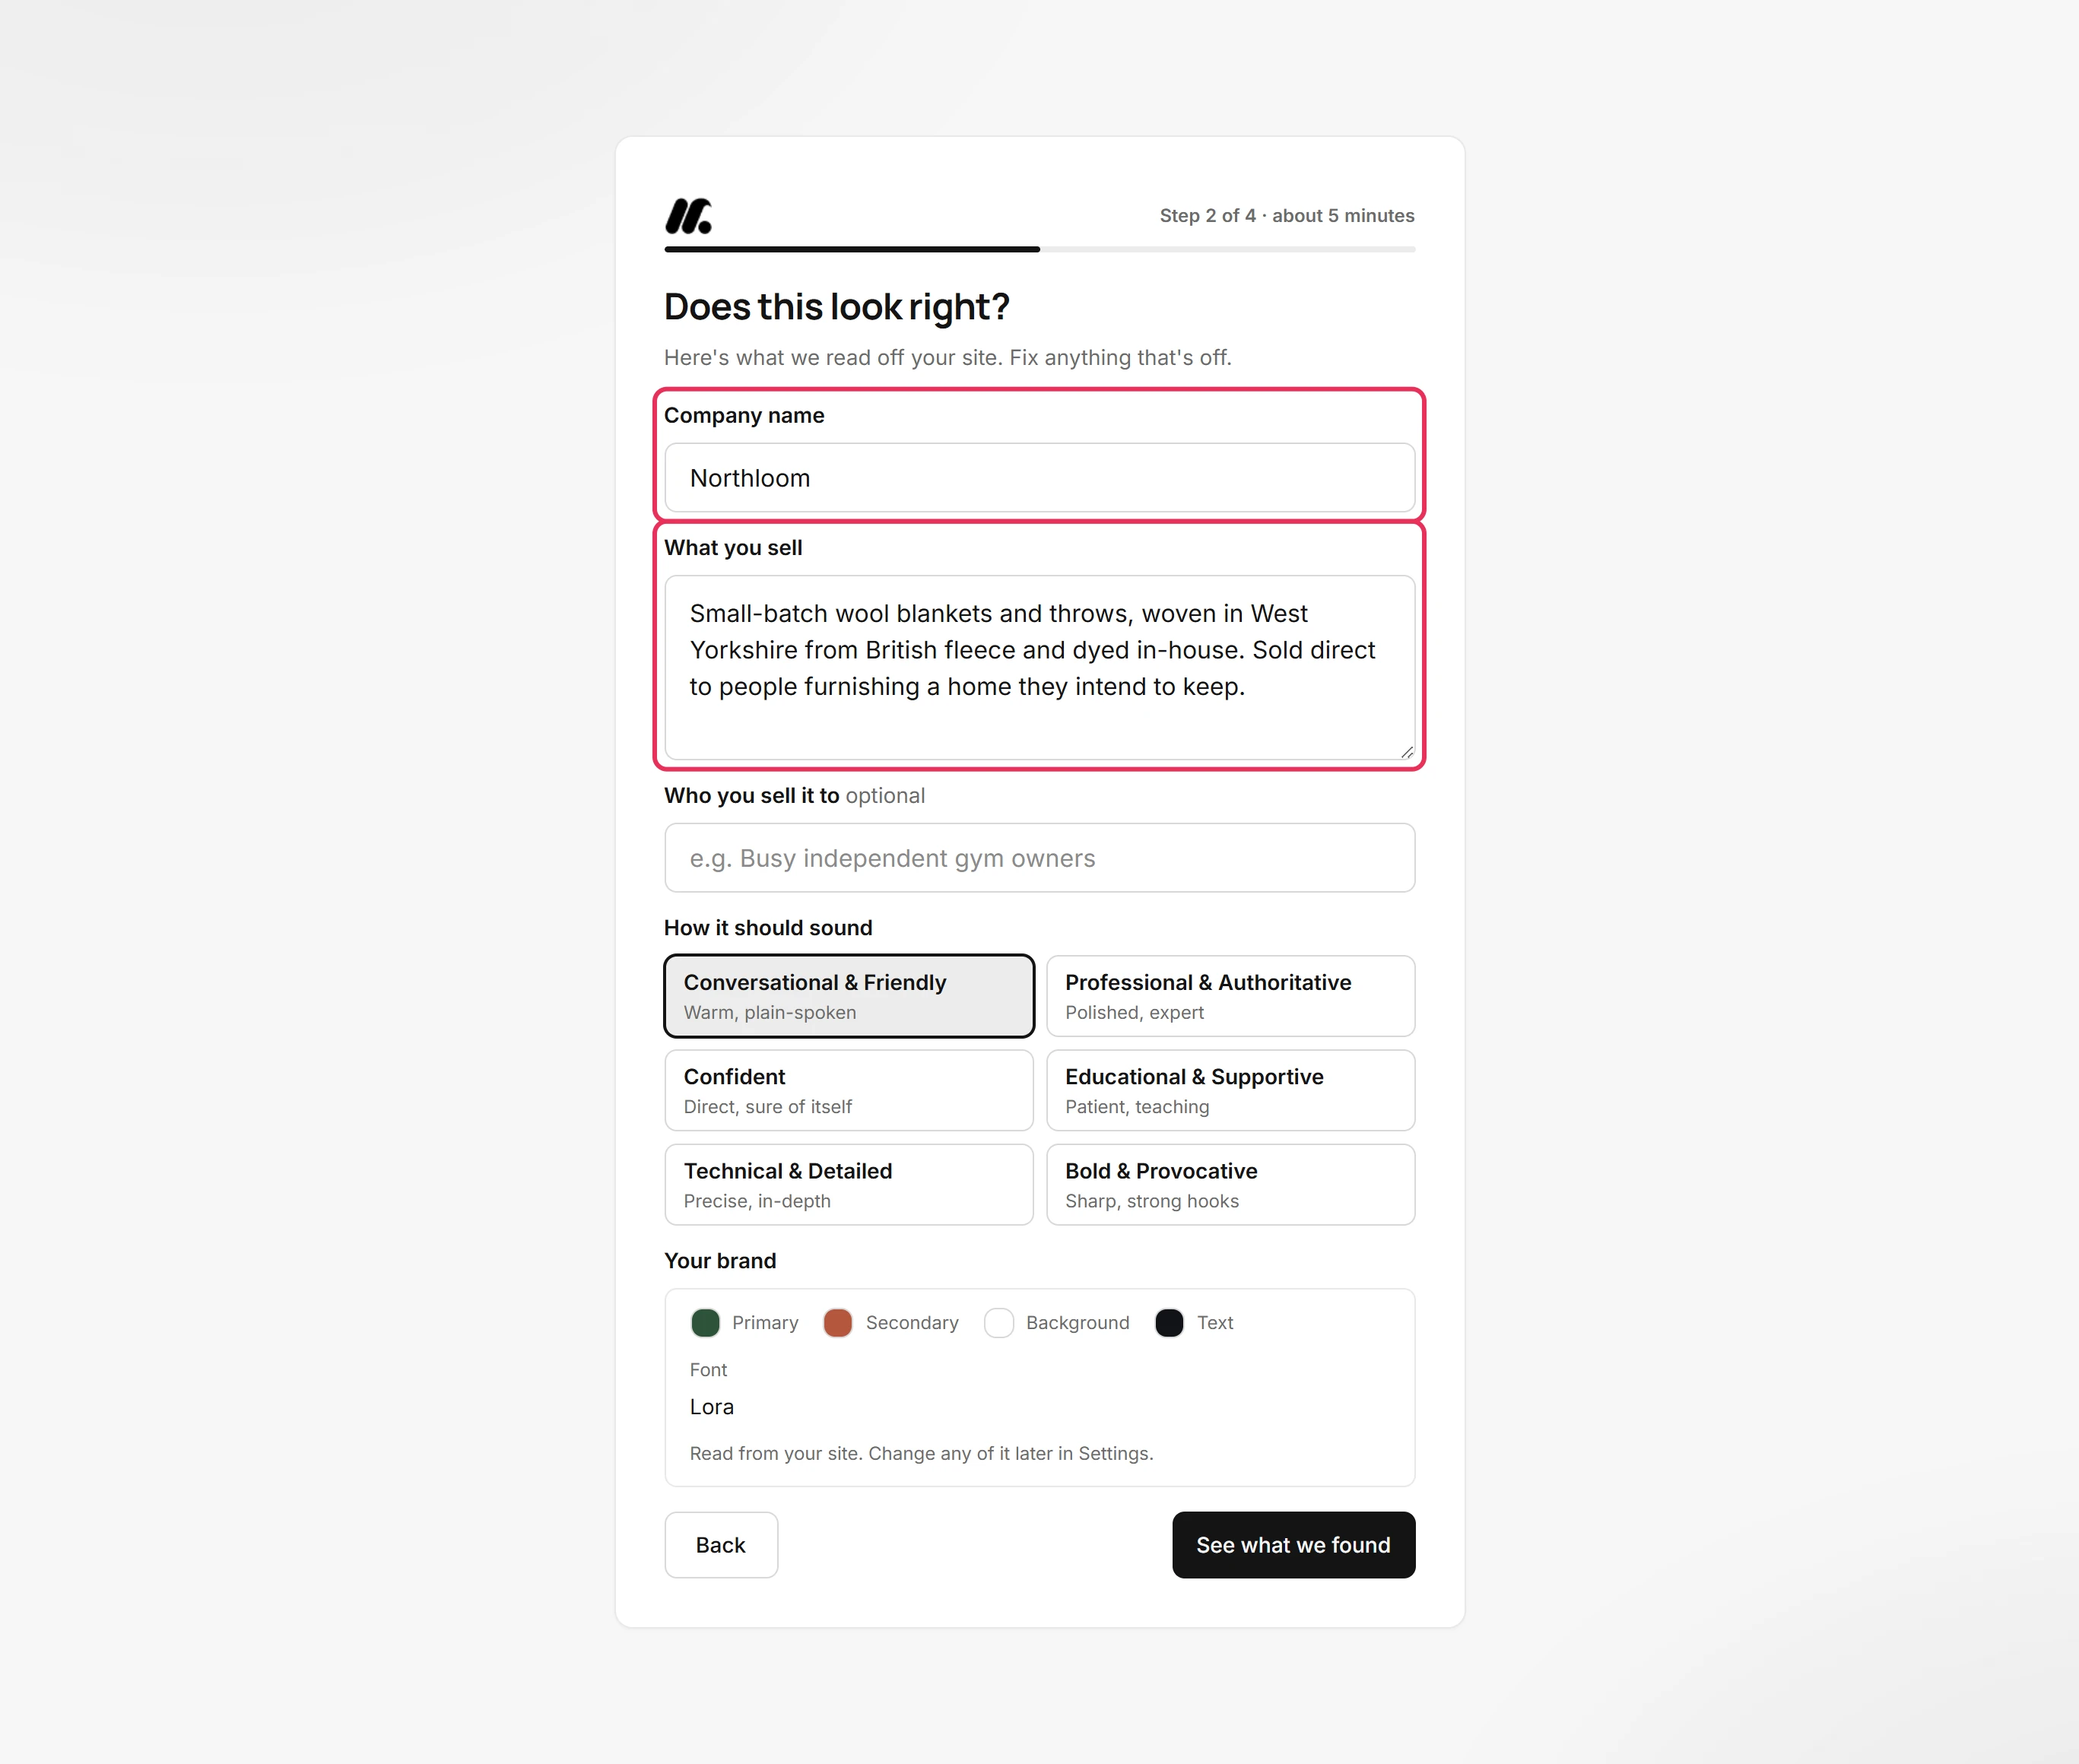
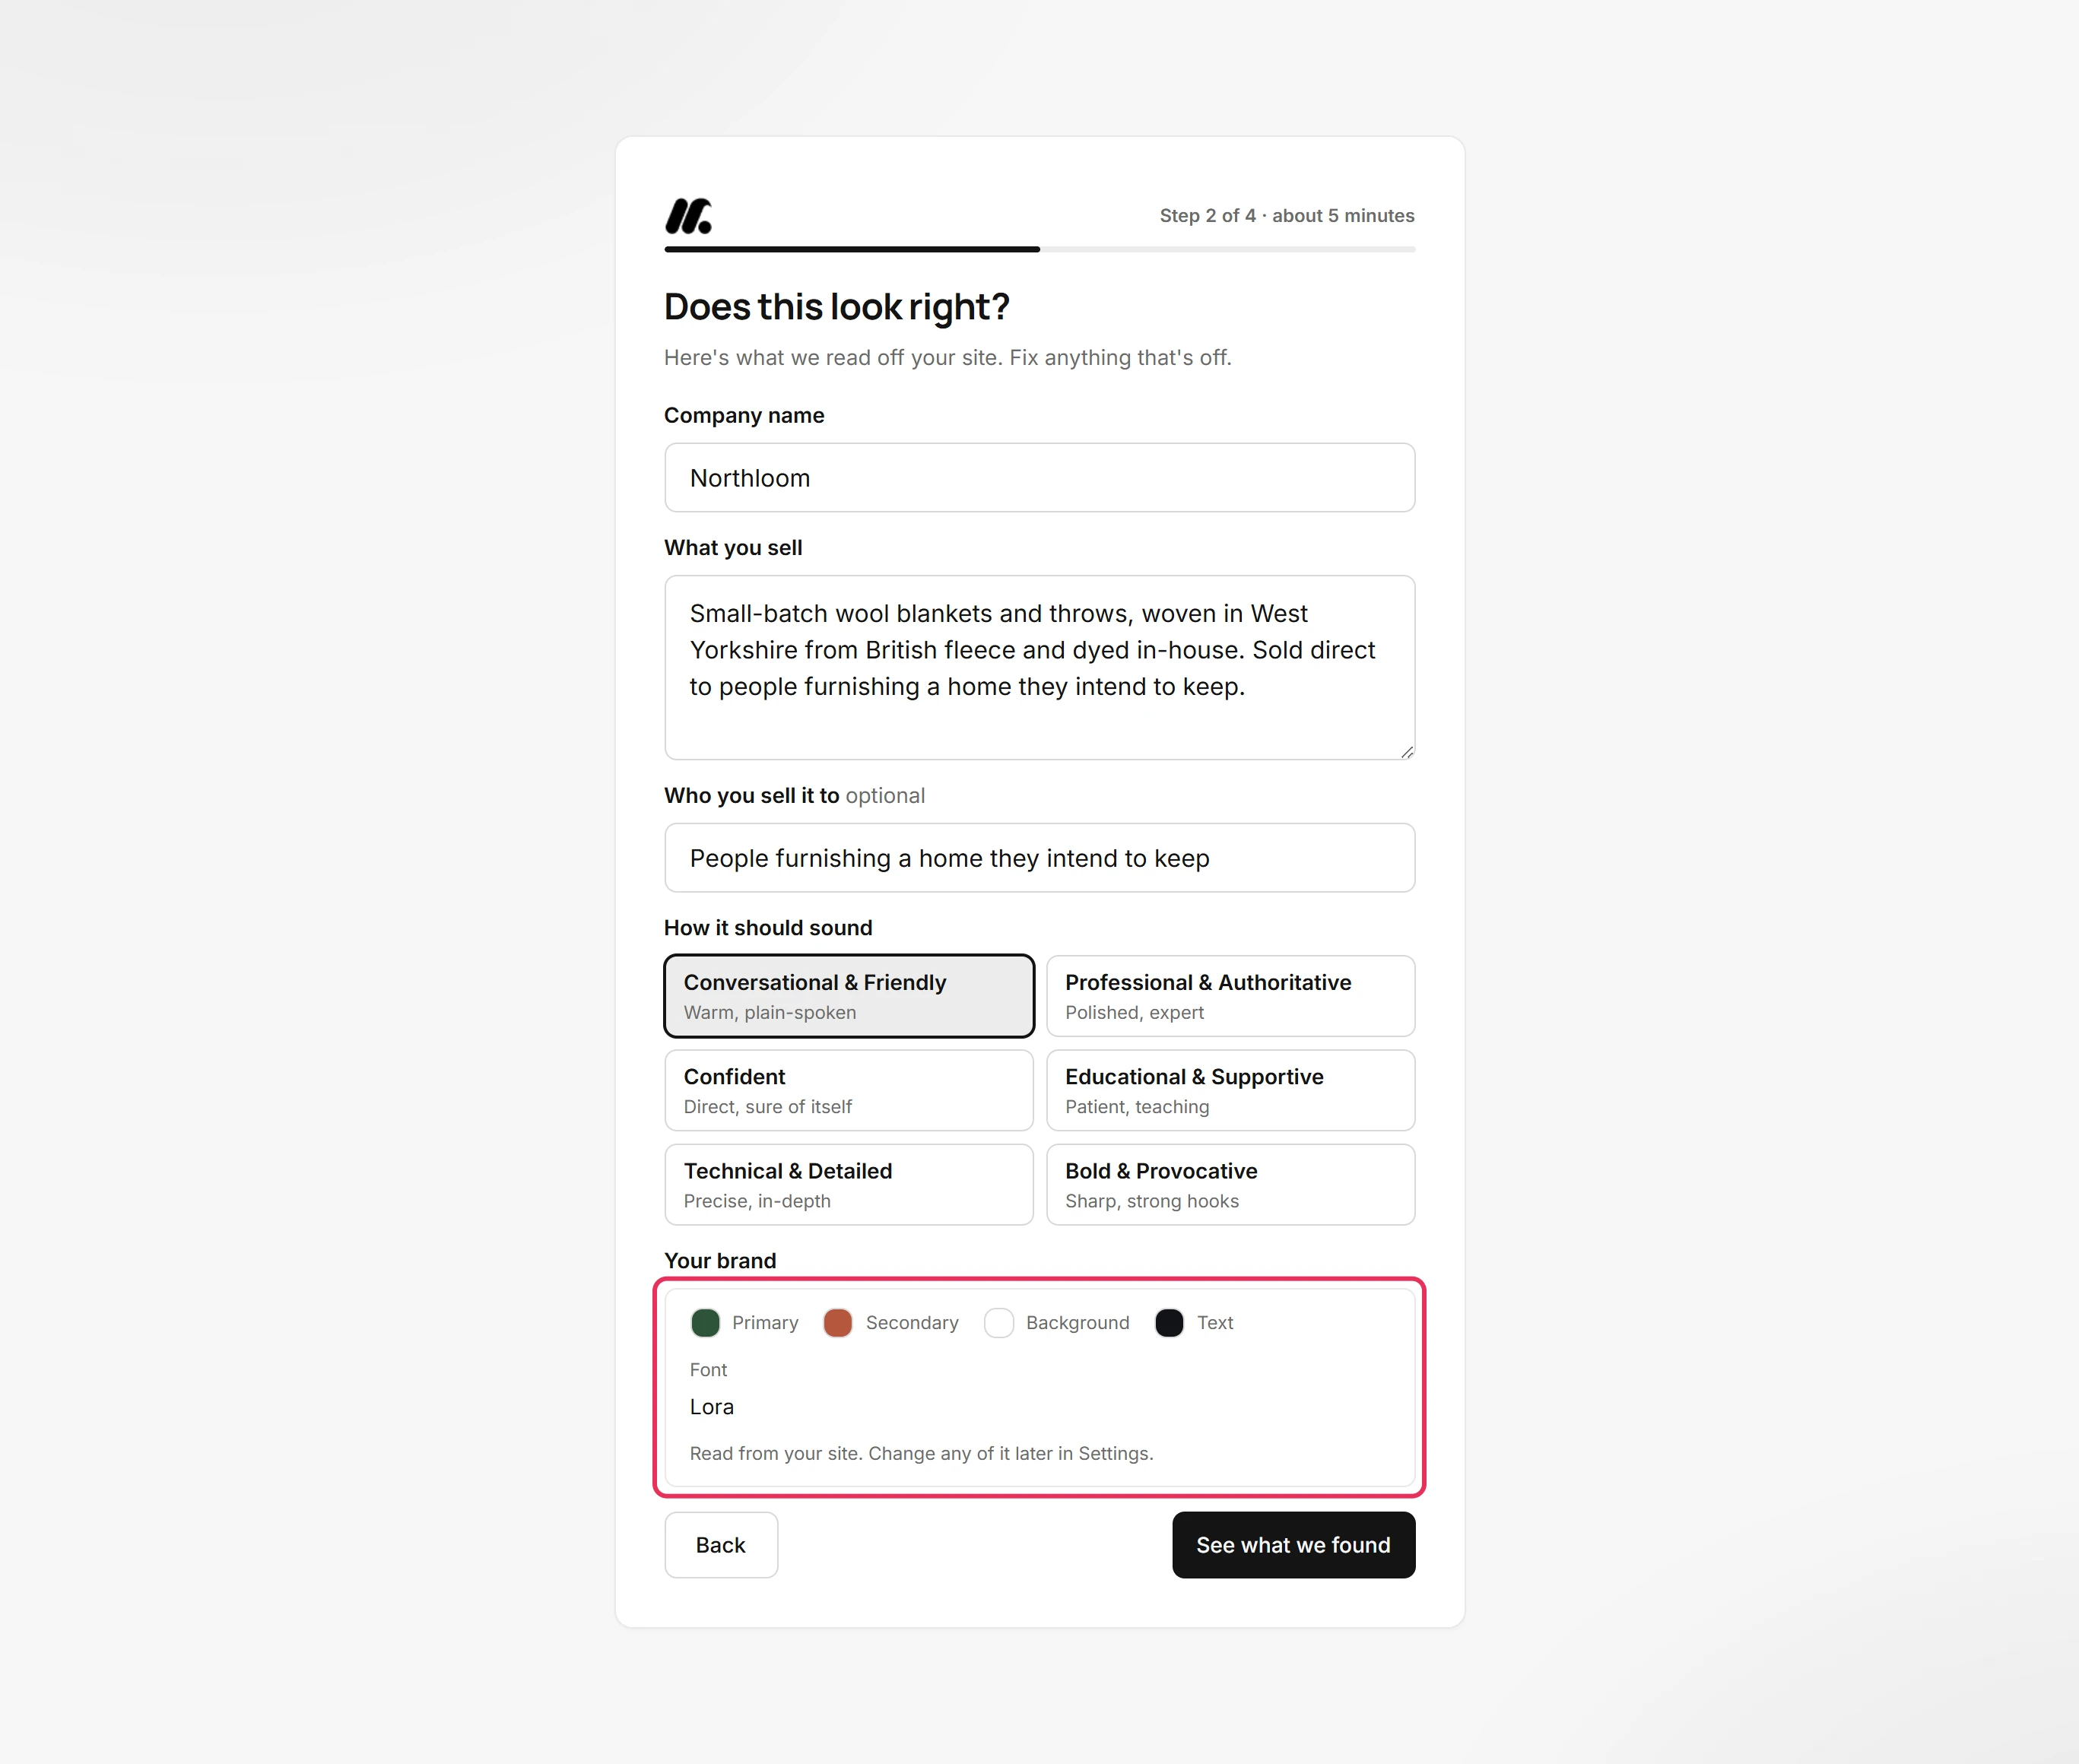
Does this look right? comes filled in from your site. Check Company name and What you sell, and change anything that is wrong.
-
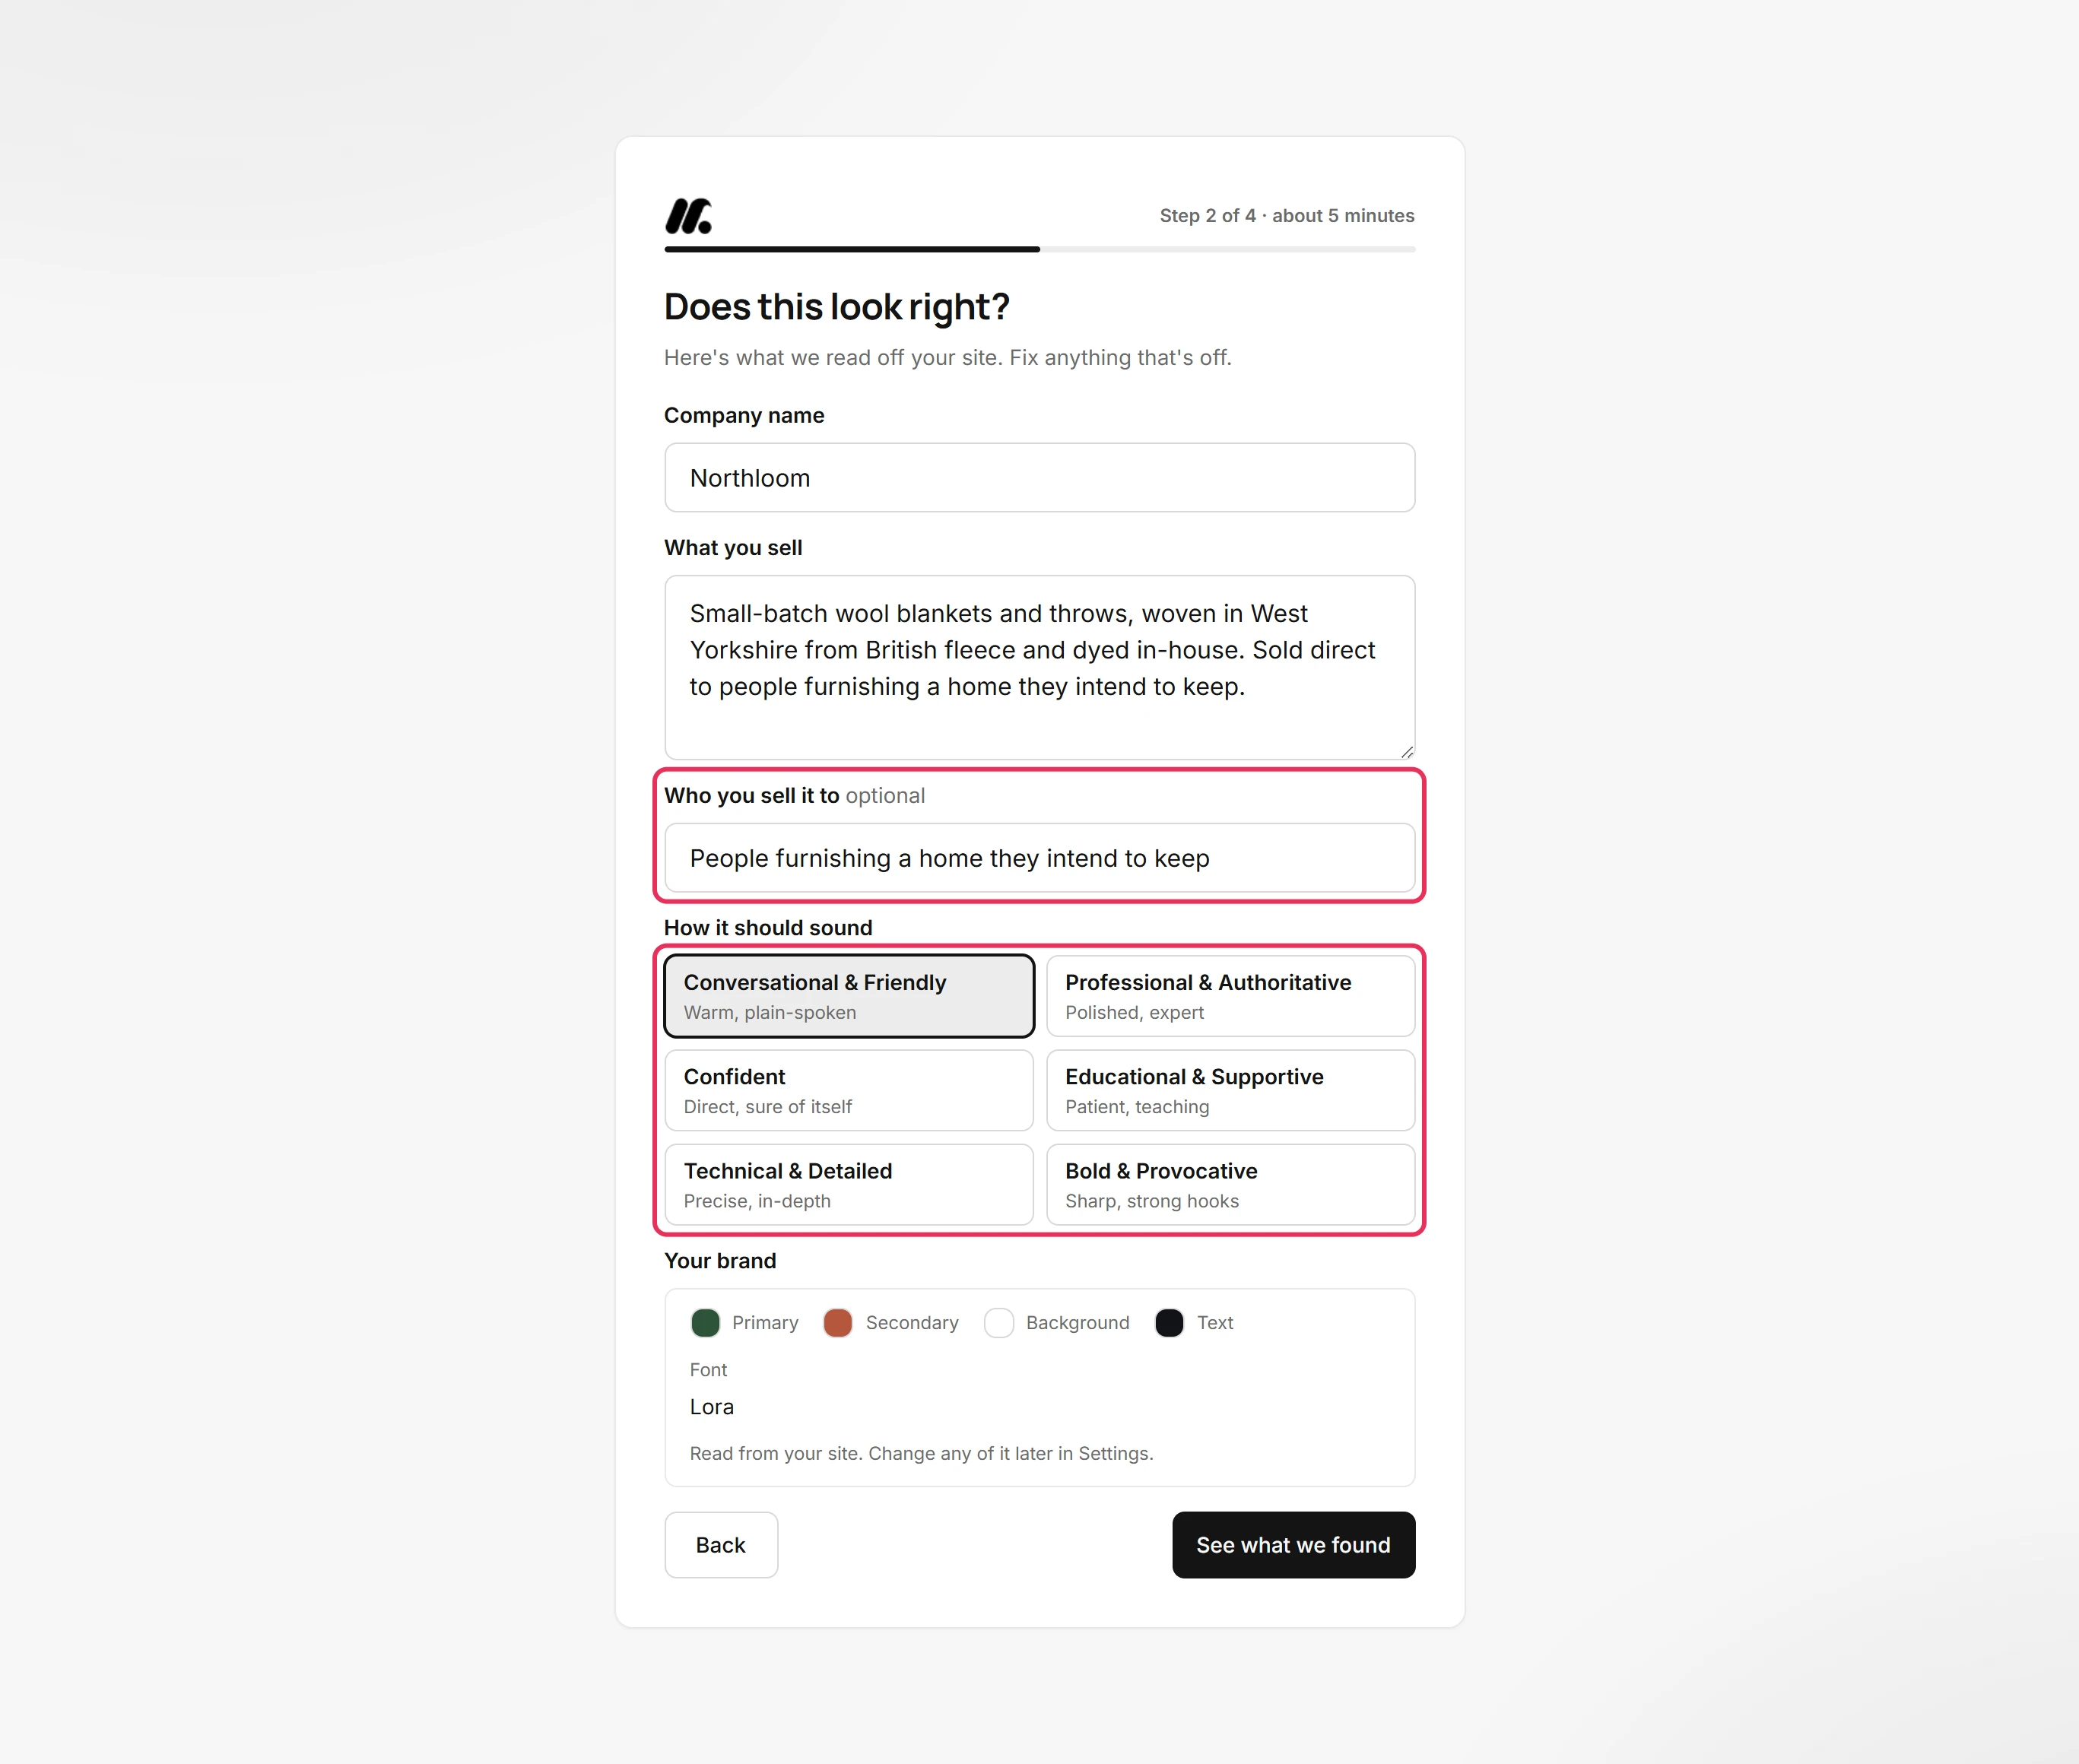
Who you sell it to is optional, but one line helps Munshi write for the right reader. Under How it should sound, pick the tone closest to yours.
-
Your brand shows the four colours and the font read from your site. Munshi uses them to draw article covers. Nothing needs doing here, and you can change any of it later in Settings, under Brand.
-
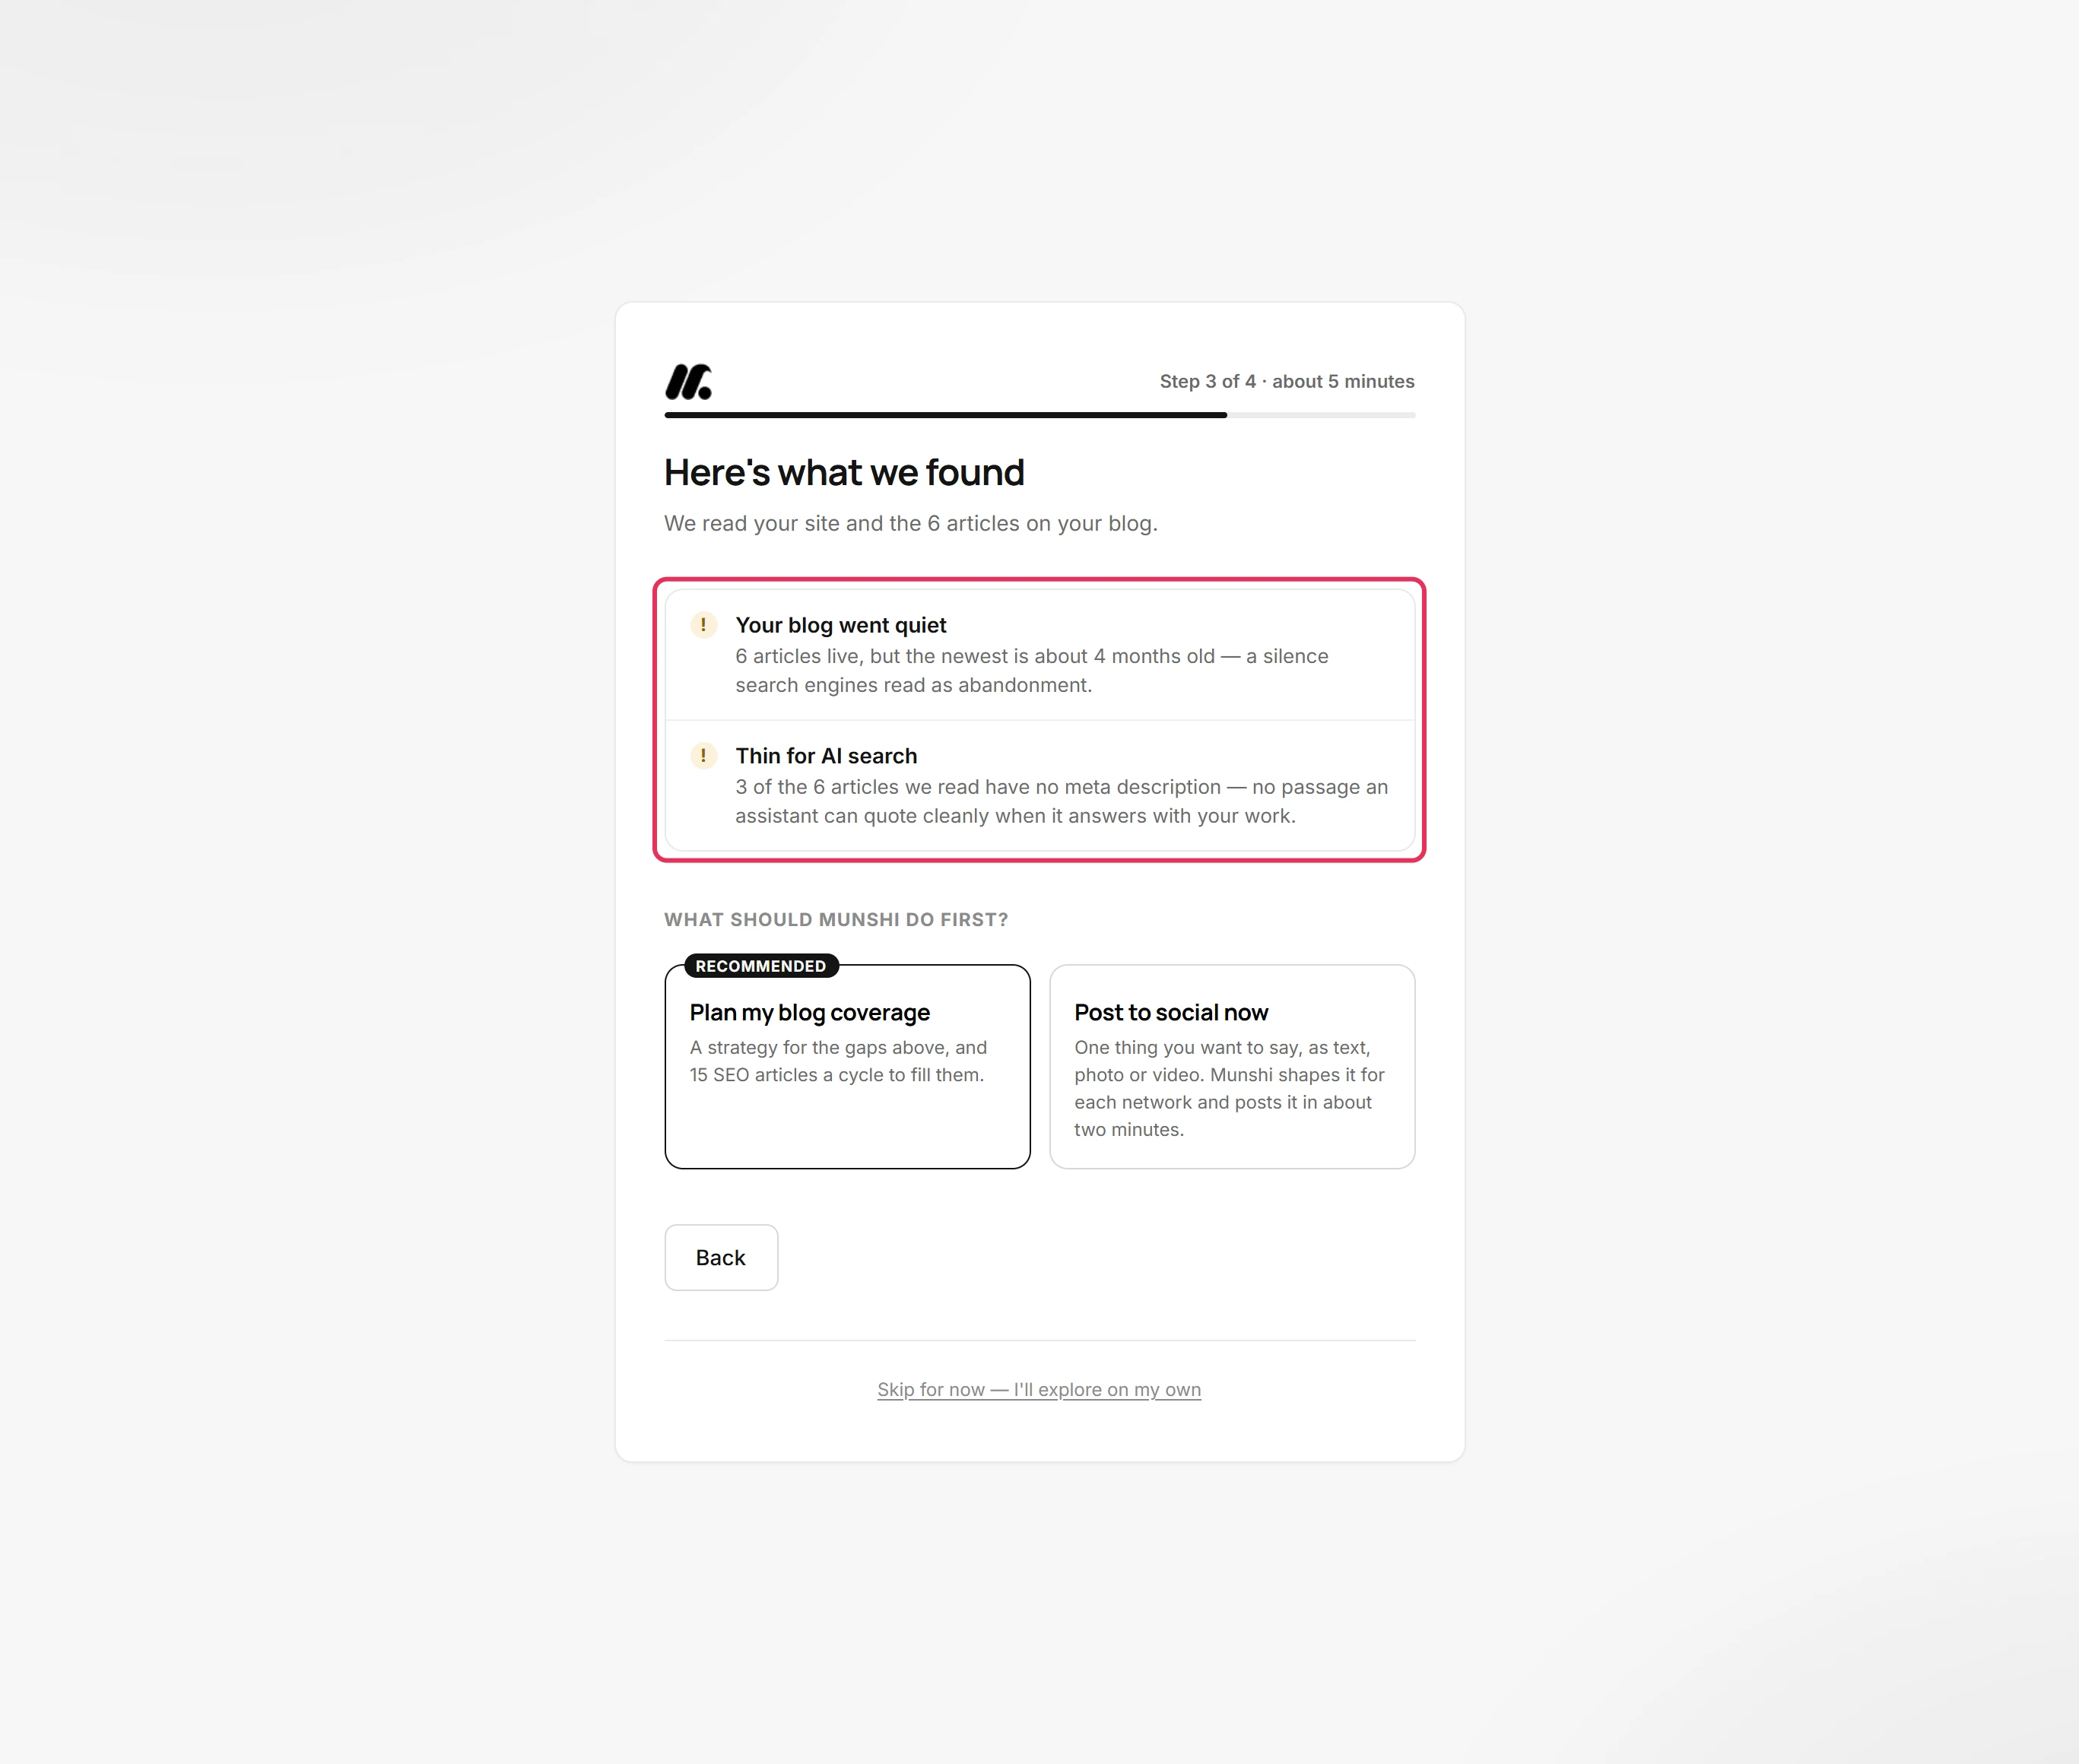
Click See what we found. Here's what we found lists what Munshi learned from your site and blog. It may find a blog that has gone quiet, or articles with no meta description (the short summary AI search can quote).
-
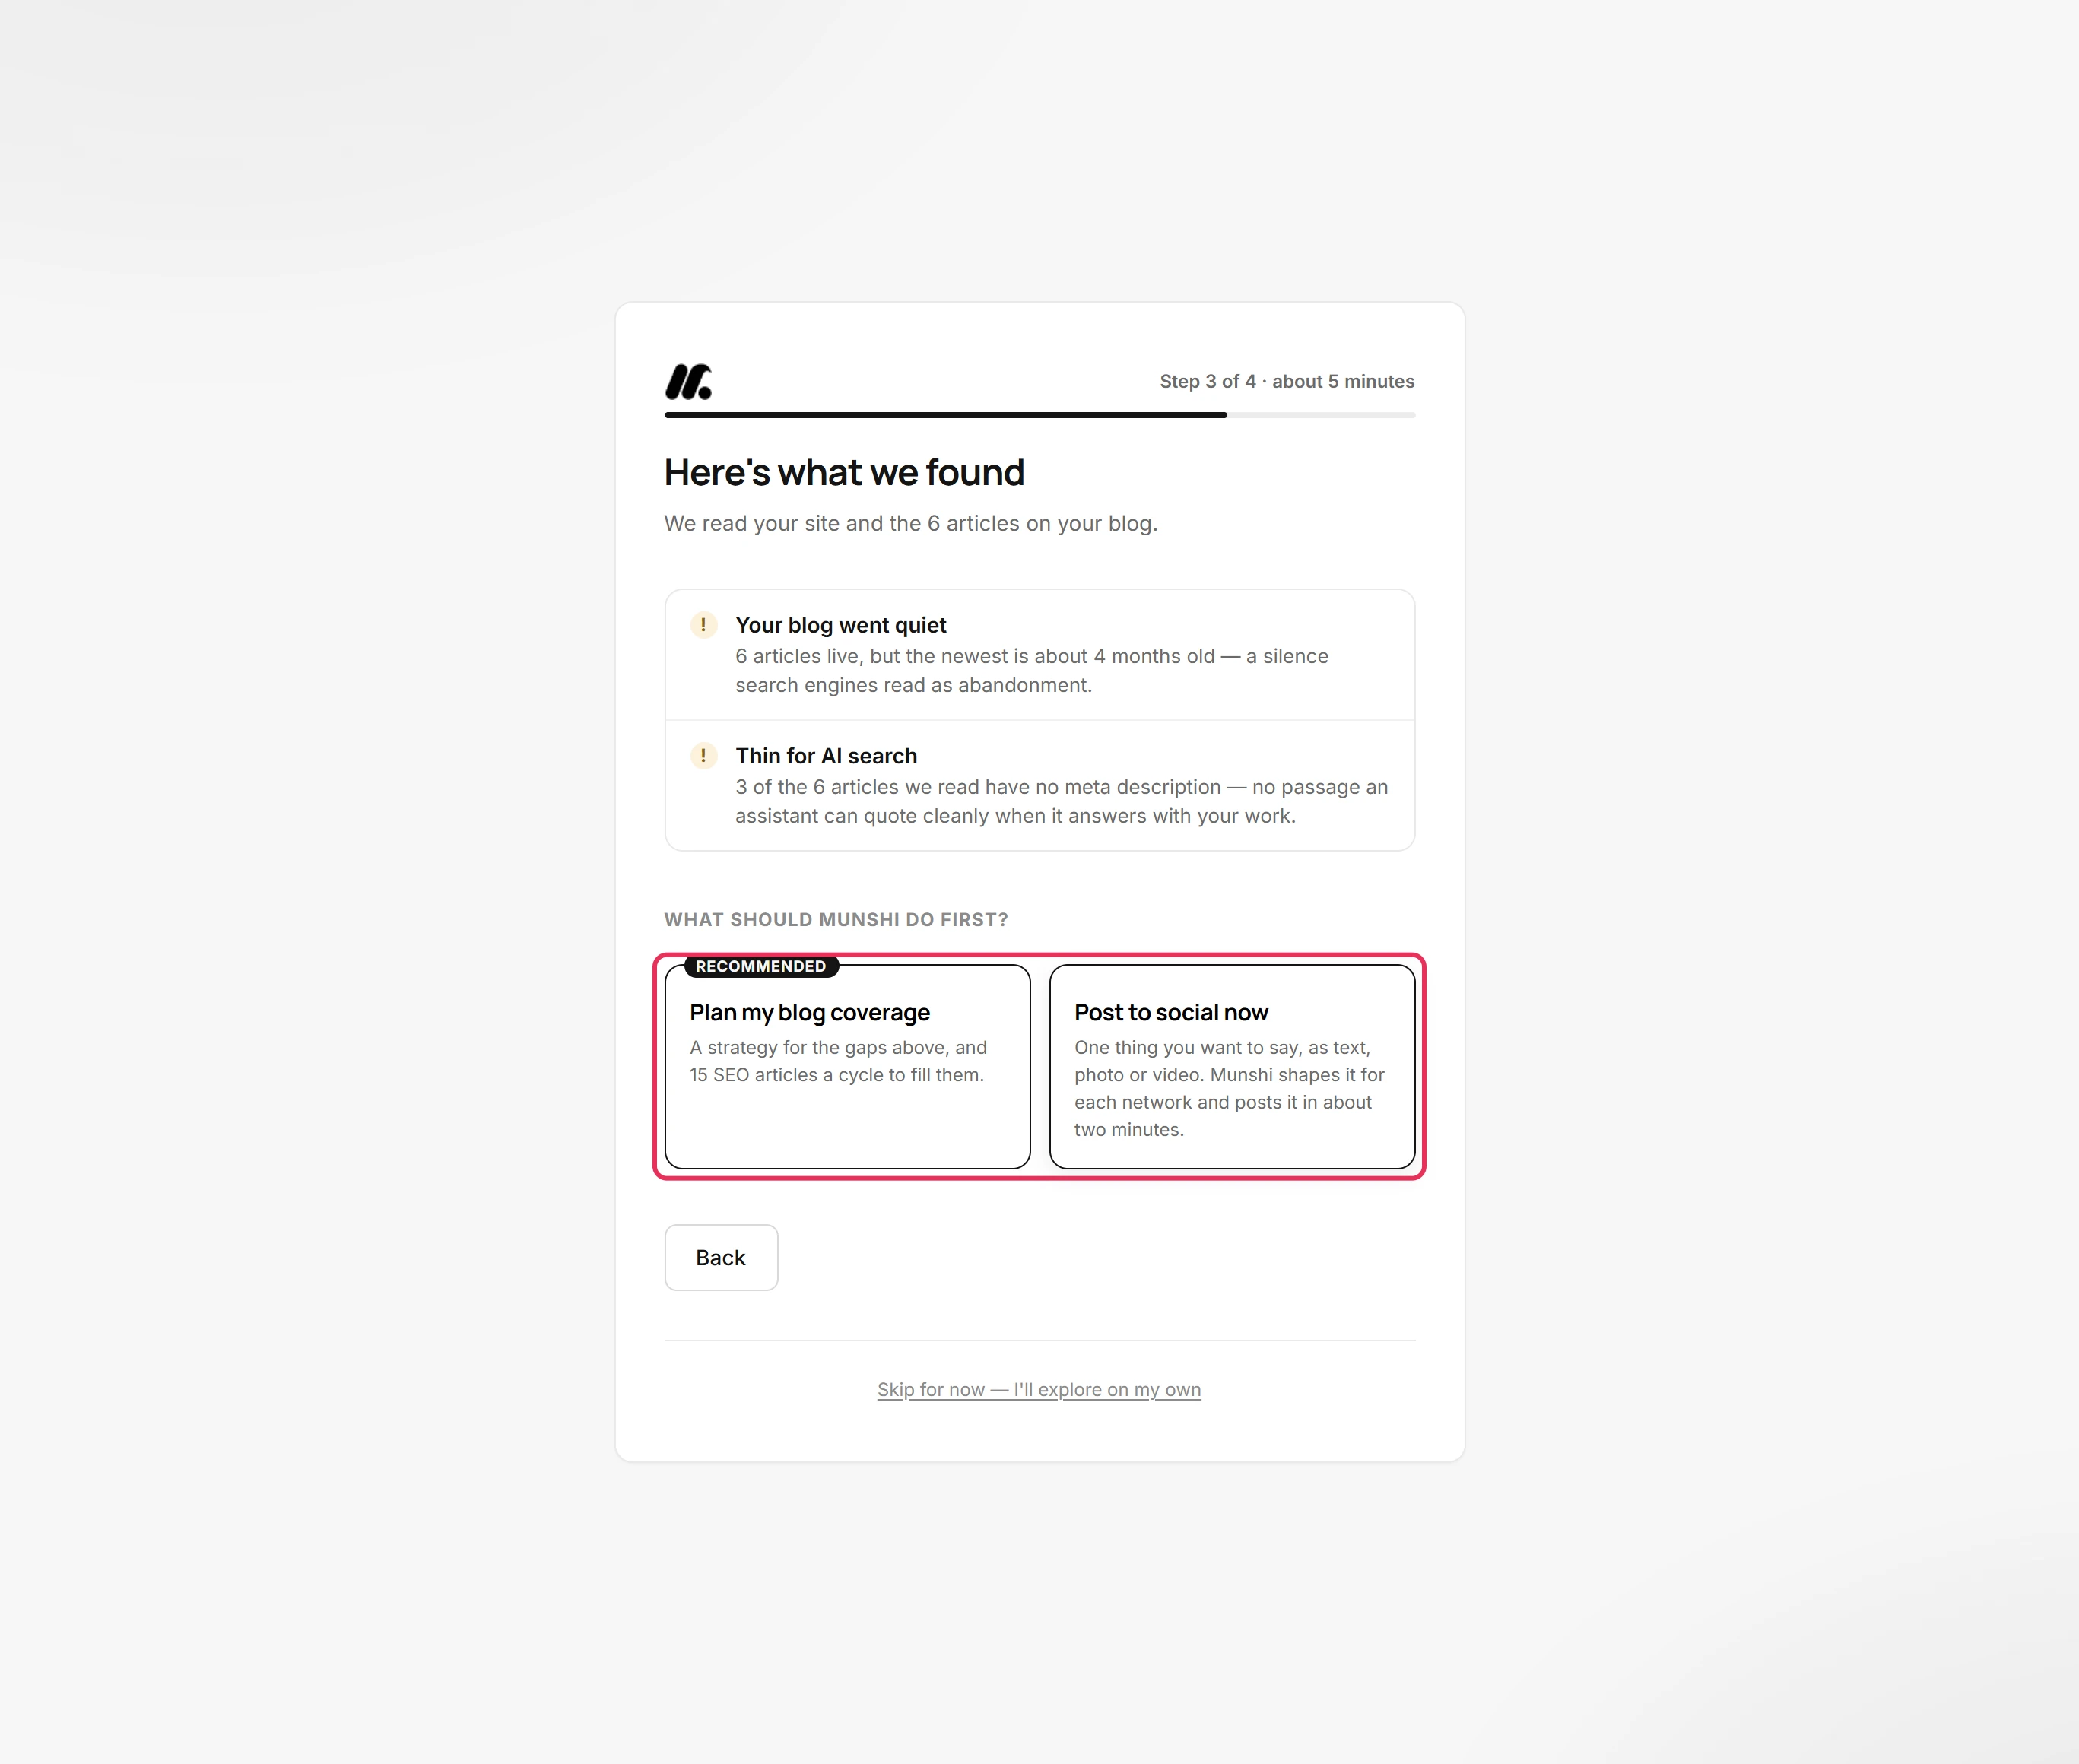
Under What should Munshi do first?, pick Plan my blog coverage for a blog strategy. Or pick Post to social now to publish one post straight away. The card marked Recommended is based on what Munshi found.
-
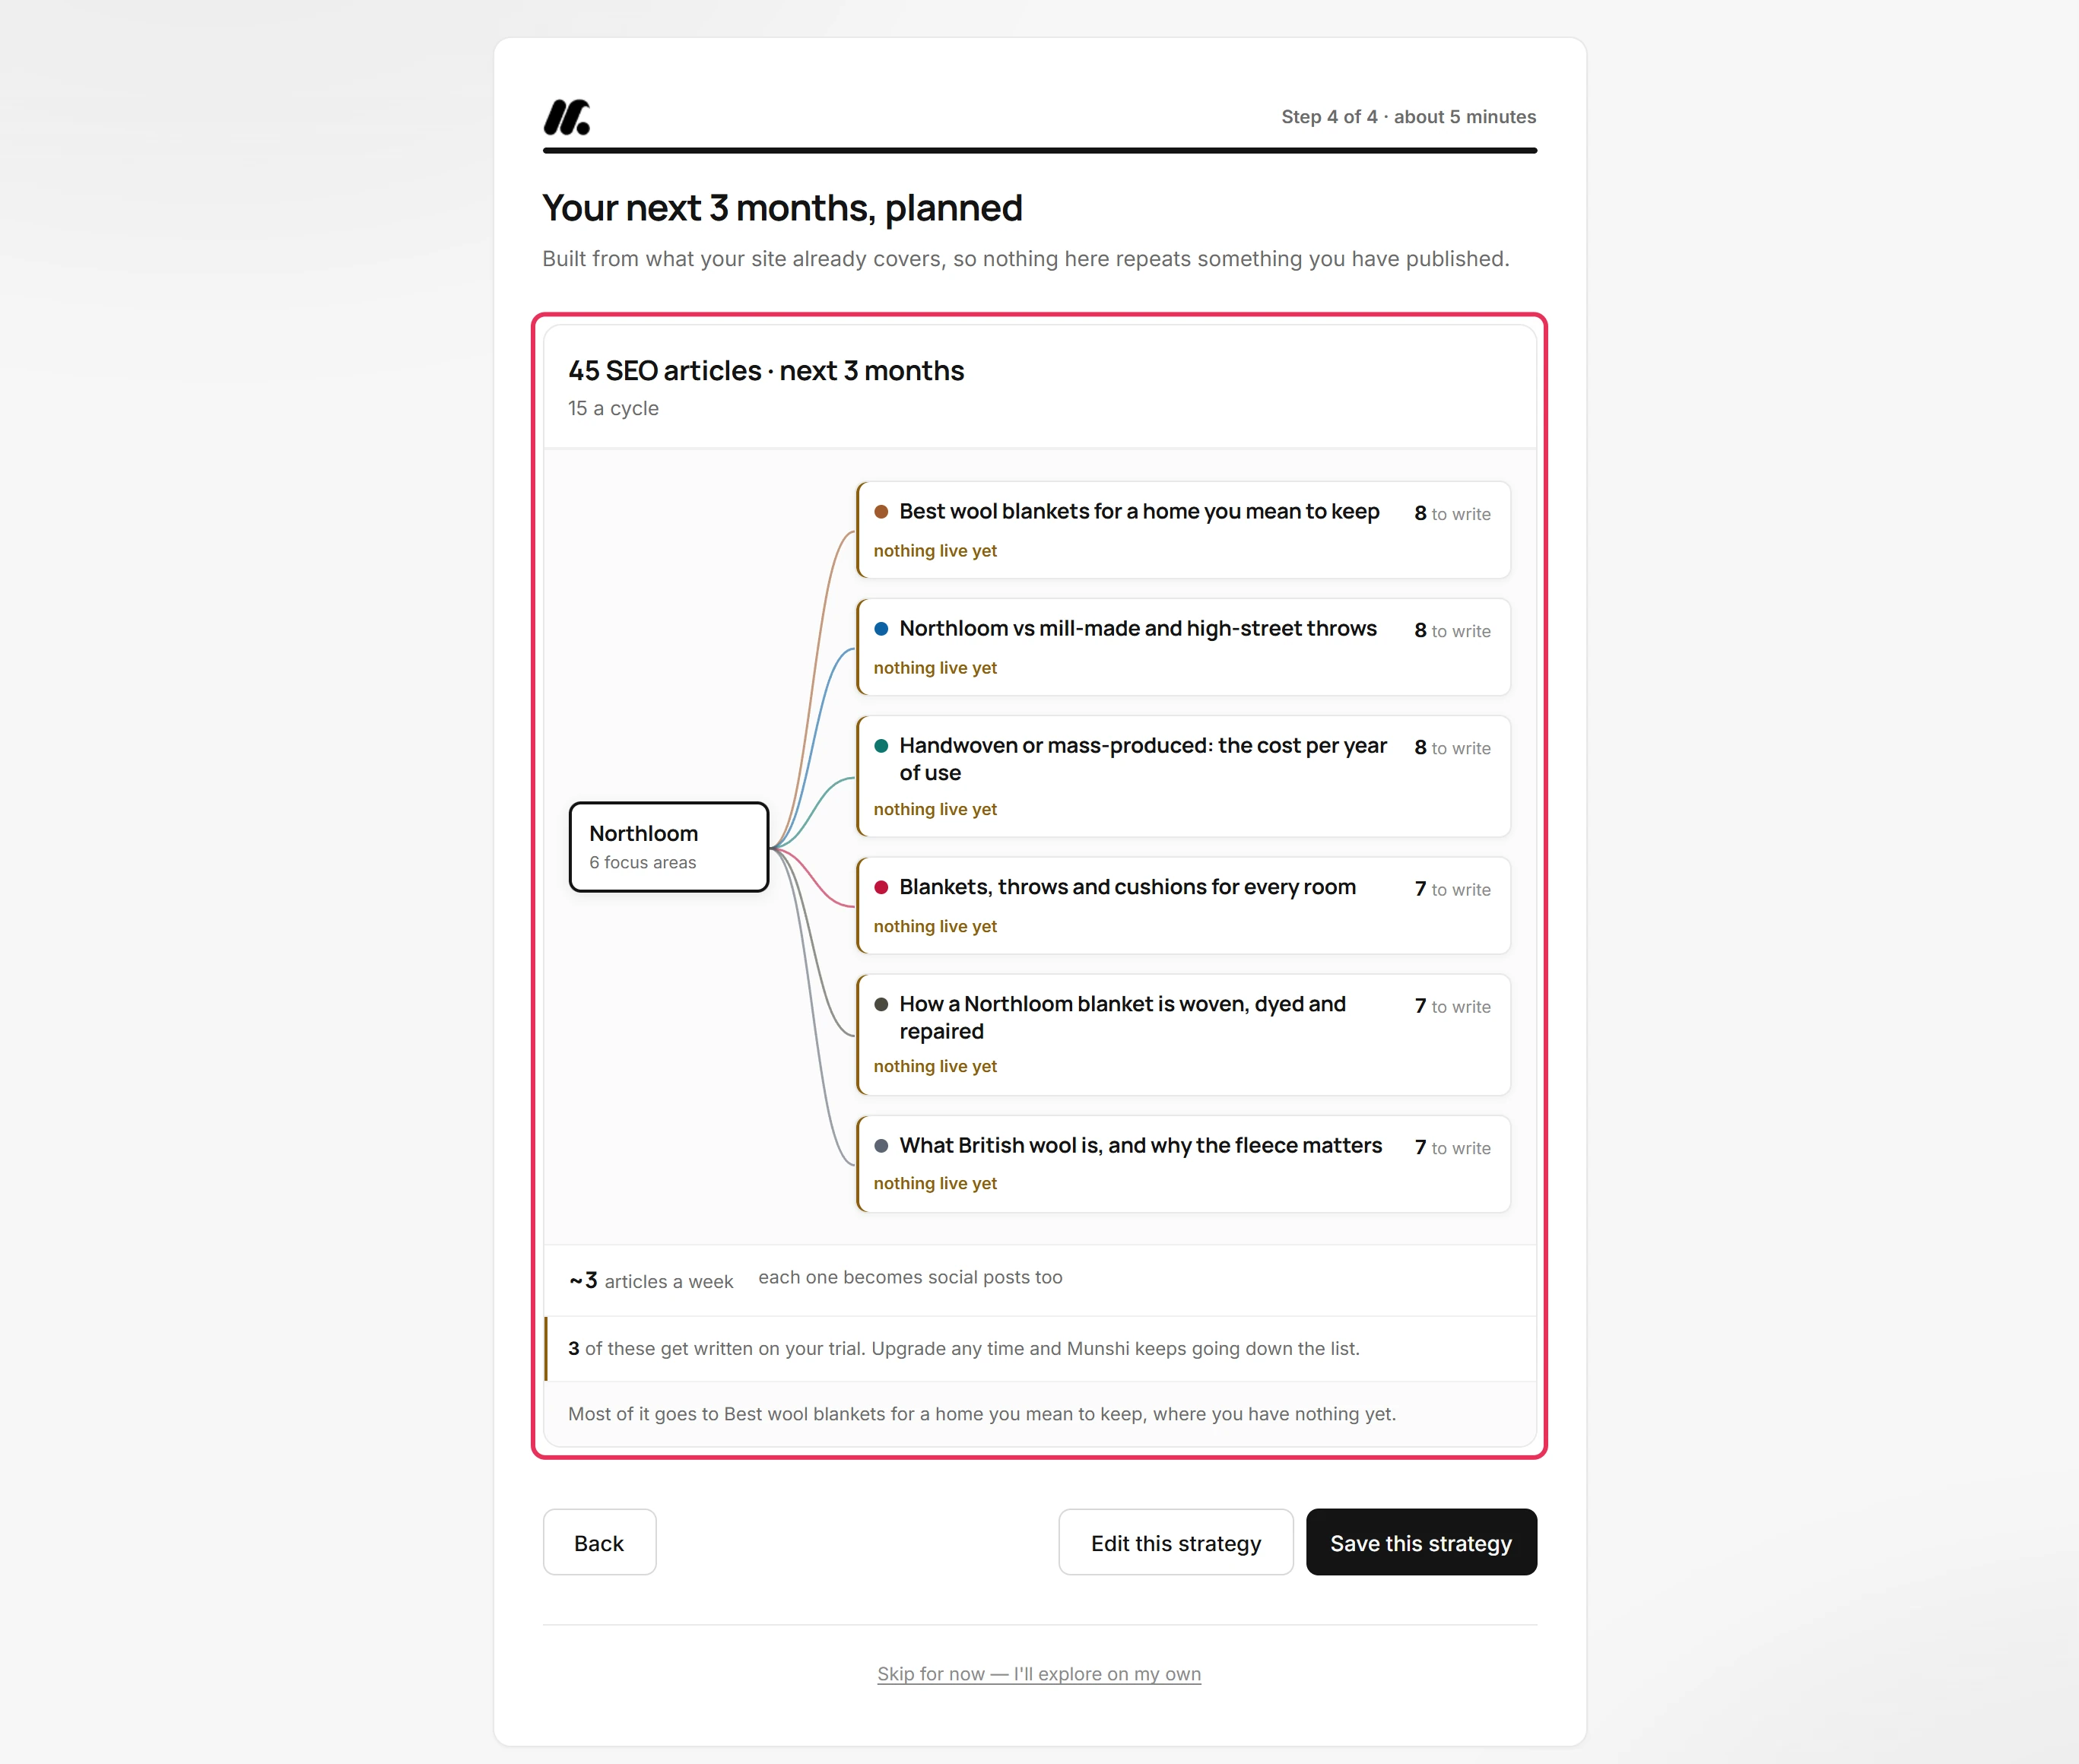
Your next 3 months, planned splits your company into focus areas, each with the number of articles it gets. On a trial, a line under the plan says how many are written before you upgrade.
-
The focus areas are already in your workspace, and Save this strategy accepts them. Your strategy is saved sums up the plan. Open my blog plan takes you into your workspace.
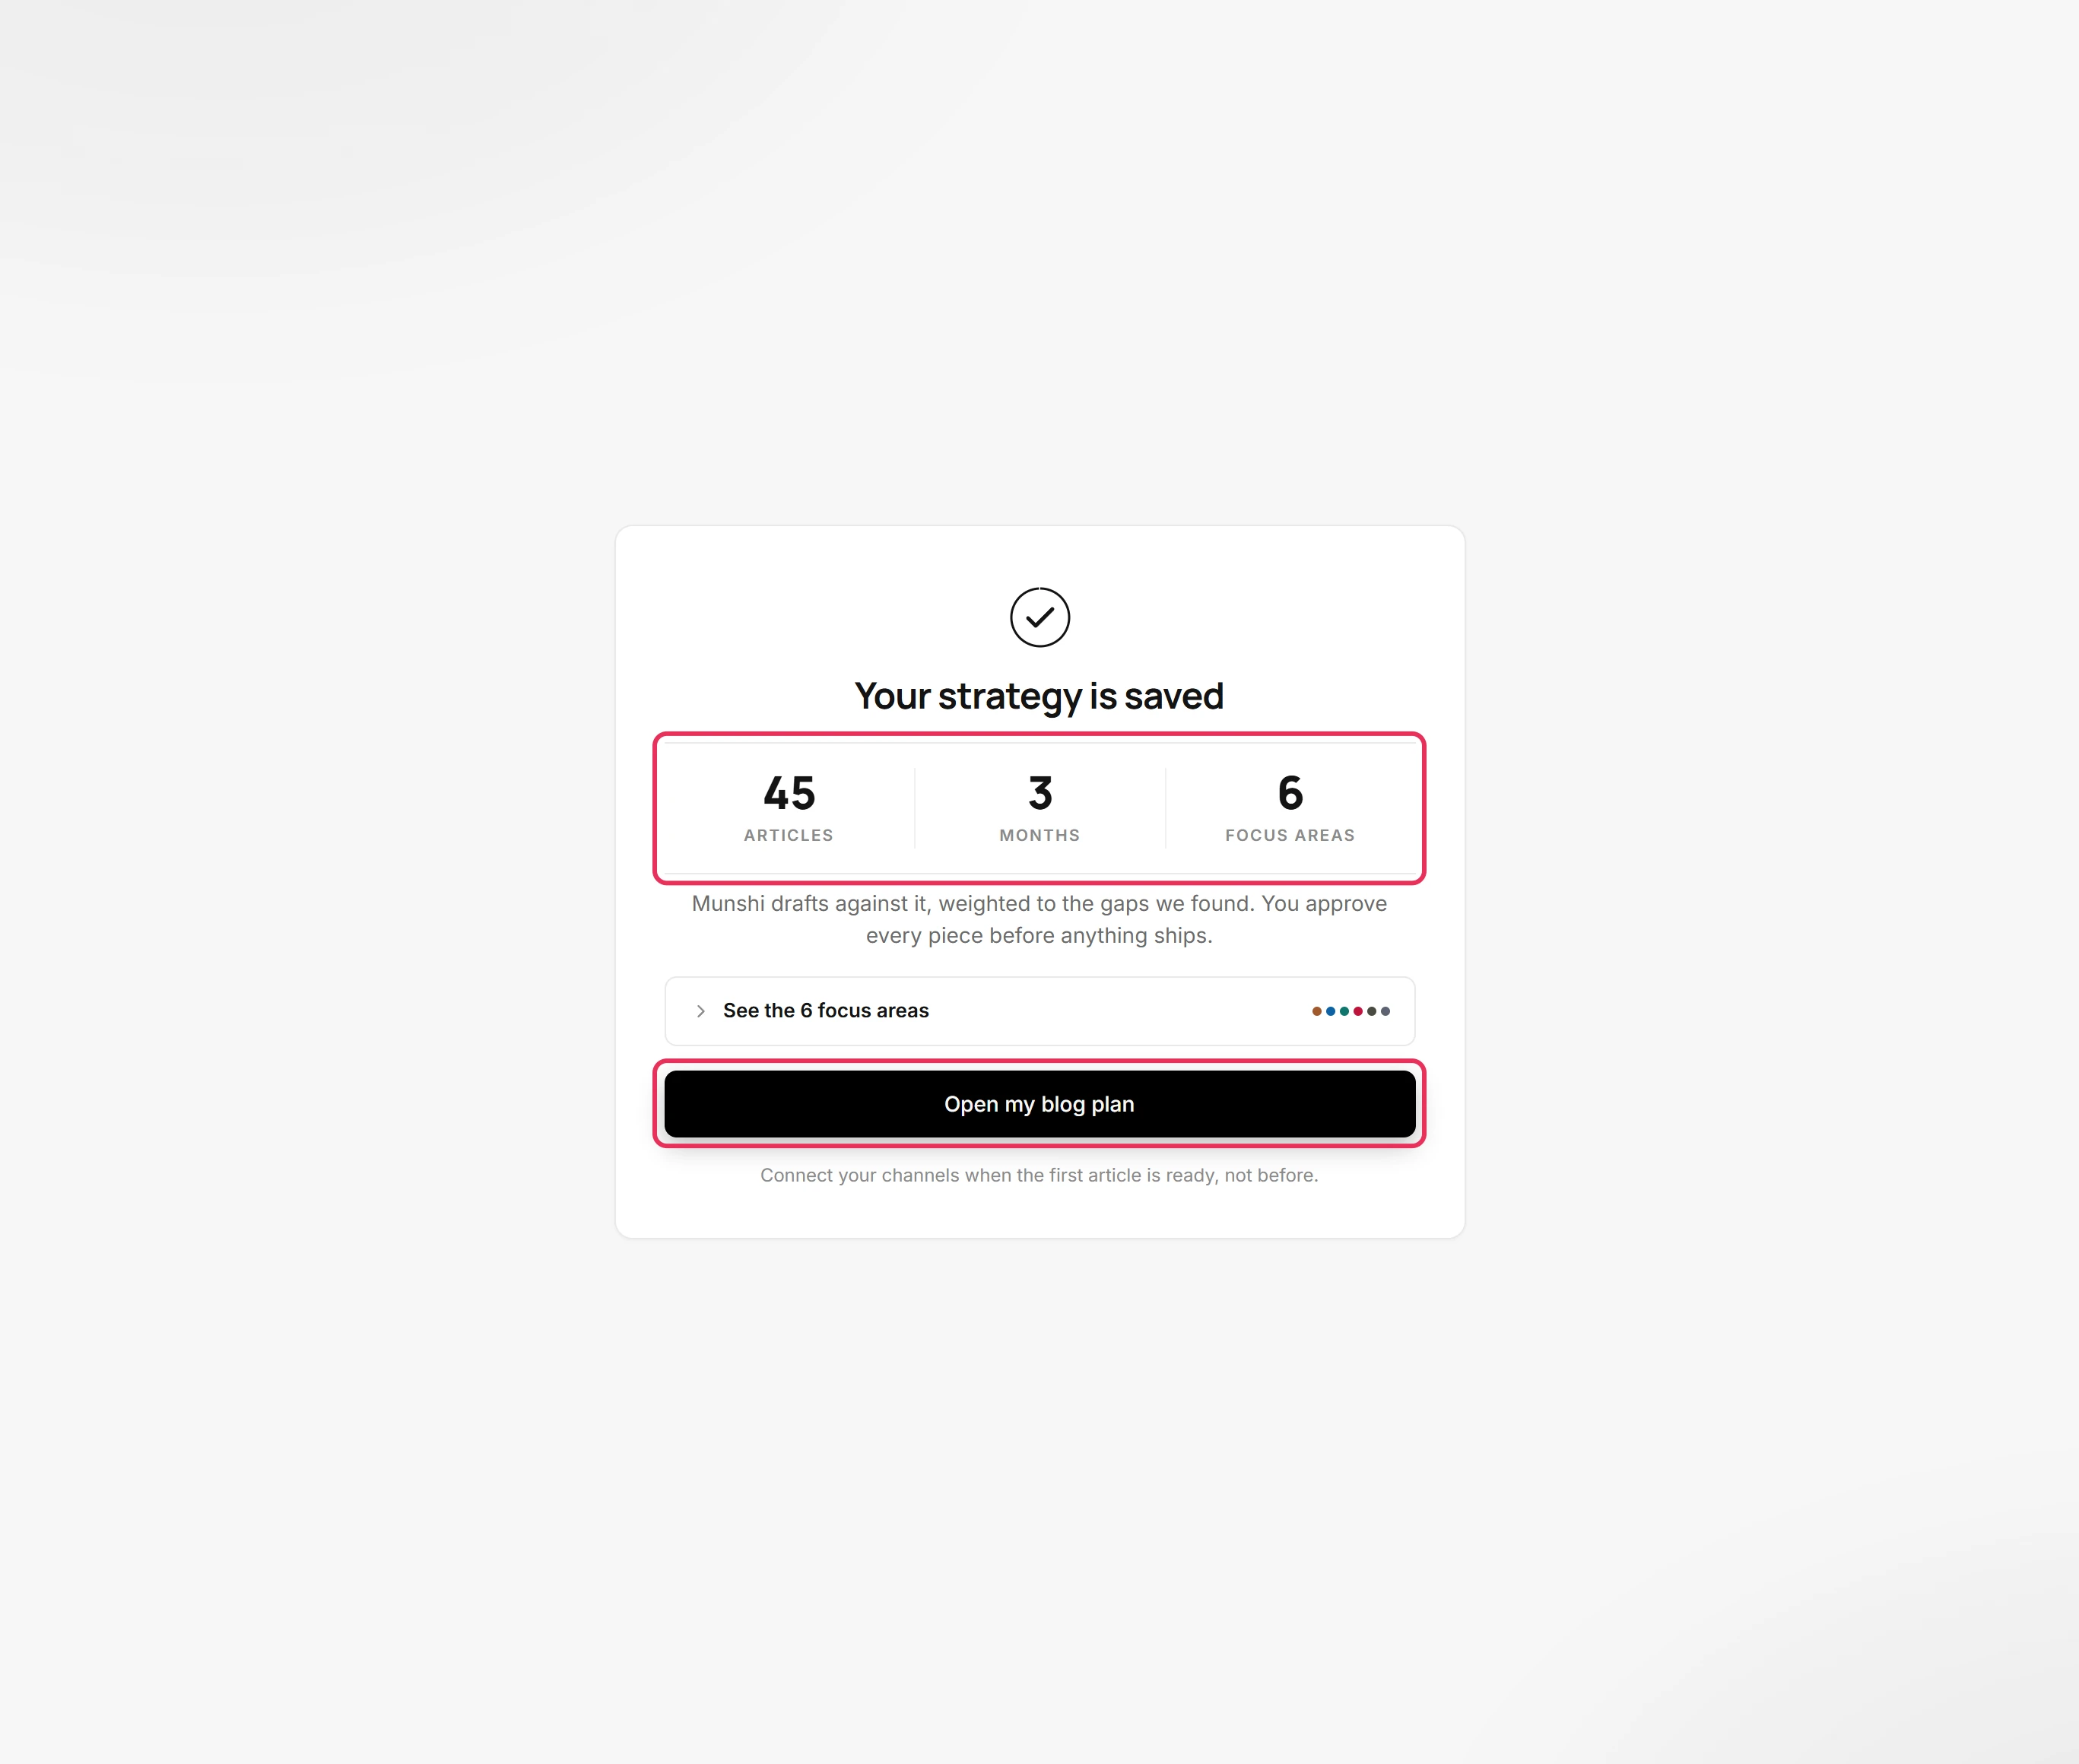
Where you are now
Munshi knows your business, your tone and your brand, and your blog has a three-month strategy. Open my blog plan takes you to the Blog, where the first articles are waiting to be written.
If something goes wrong
The fields came back empty
Click Back, check the address and scan again. Or fill in Company name and What you sell yourself, because the scan is a shortcut, not a gate. The fields come back empty when Munshi could not read the address or the scan got no answer. If the scan got no answer, the screen says “Couldn't read that site”.
“We could only read a little from your site”
Fill in the gaps by hand. Sites that draw their words with JavaScript give a scanner very little to read. The rest of setup works the same, and your blog is still read if it has a sitemap.
“We could not draft the focus areas just now.”
Click Continue, then build your focus areas on the Strategy tab of the Blog. The plan could not be written this time.
Setup says “Setting up a new workspace”
Finish setup, or use Discard this workspace to remove it and go back. You already have a workspace, and this setup is for one you added.
Try it on your own brand this week.
Munshi Social, the AI content marketing engine for small teams, plans, writes, publishes, and tracks your blog and socials. The guide above shows the real app, not a mock-up.
Start your workspace